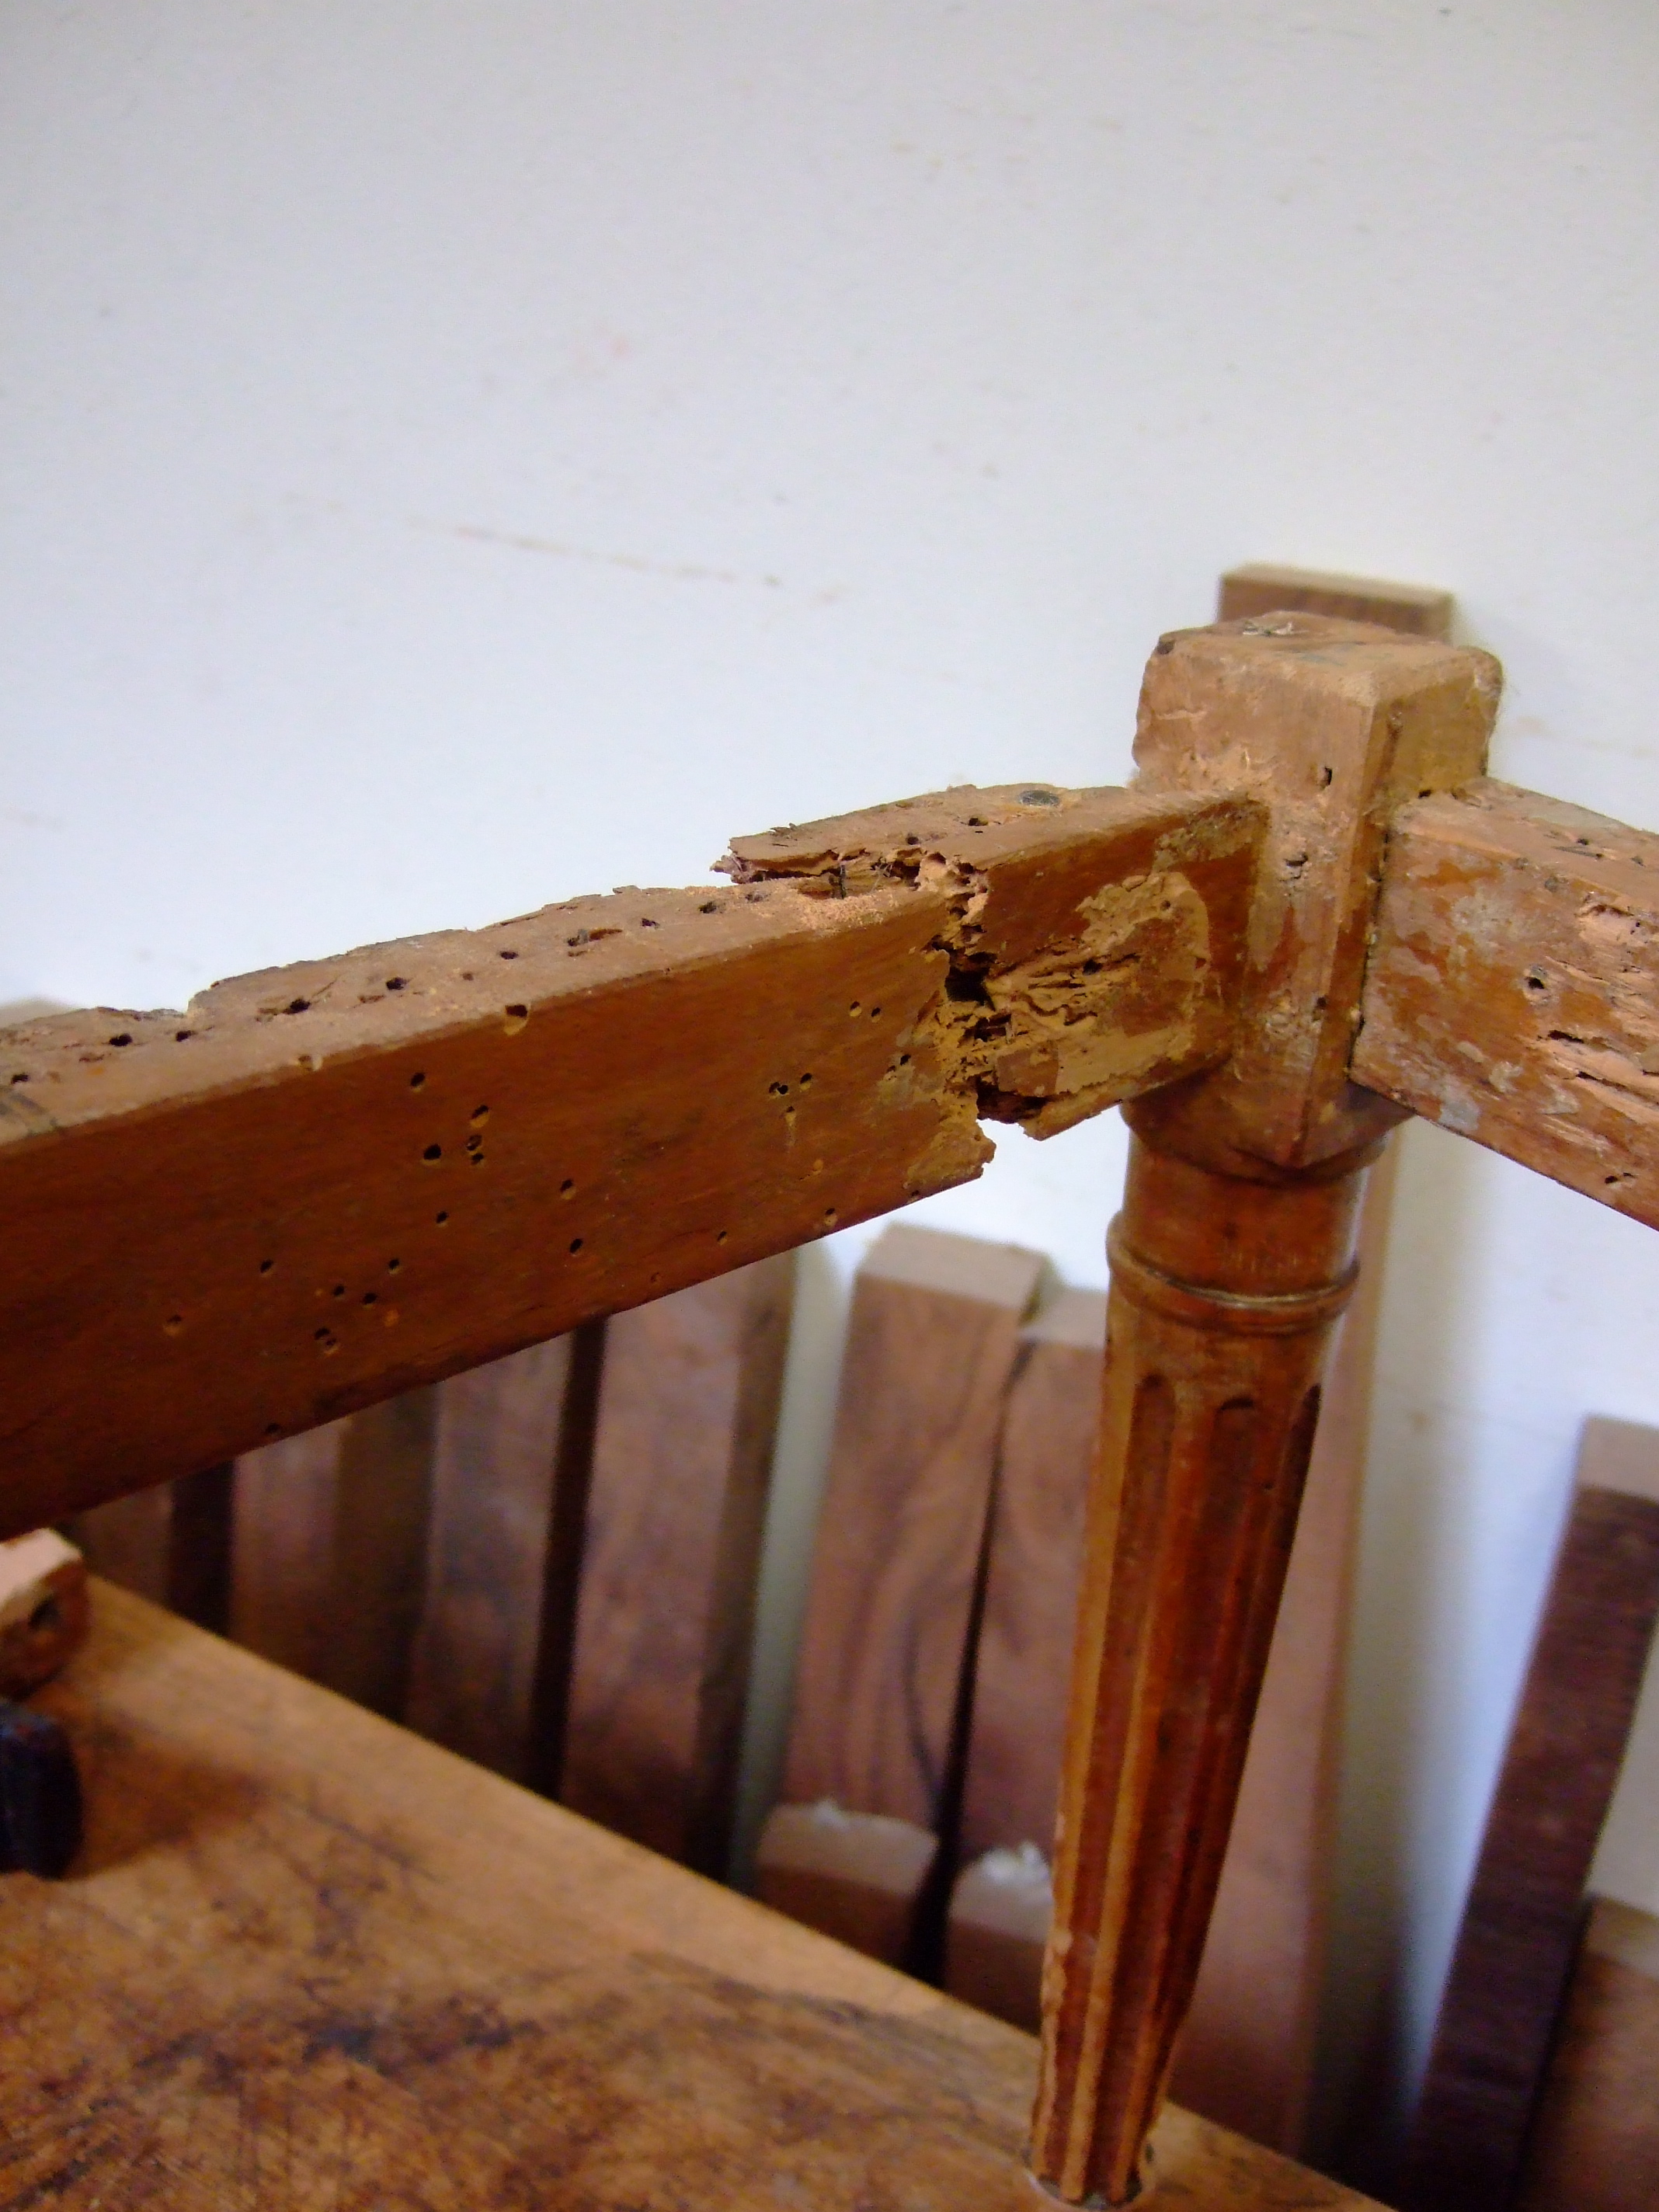
These chairs were seriously damaged by a plumbing accident while my client was out of the country. Pipes burst upstairs in a home and leaked continuously for over a week. The house needed to be gutted and the chairs which were covered in marquetry were severely damaged. The veneer was as brittle as dry leaves on a cold winter day. There were also significant losses. The images below show the extent of damage and some of the techniques involved in restoring these two chairs.

Restored armchair.

Restored side chair.

Severely damaged seat rail veneer. Delaminated, completely brittle and suffering some losses.

Regluing the seat rail. Note the complete marquetry losses to the side of the front leg and large parts of the arm of the chair.

The same seat rail reglued, patched with early stages of finish applied.

Damaged armchair with the side of the front leg mostly patched.

Another view of the armchair showing how I puzzled the broken pieces of the leg veneer together. Many of the flowers were missing and needed to be made by me.

Patched and in the process of finishing.

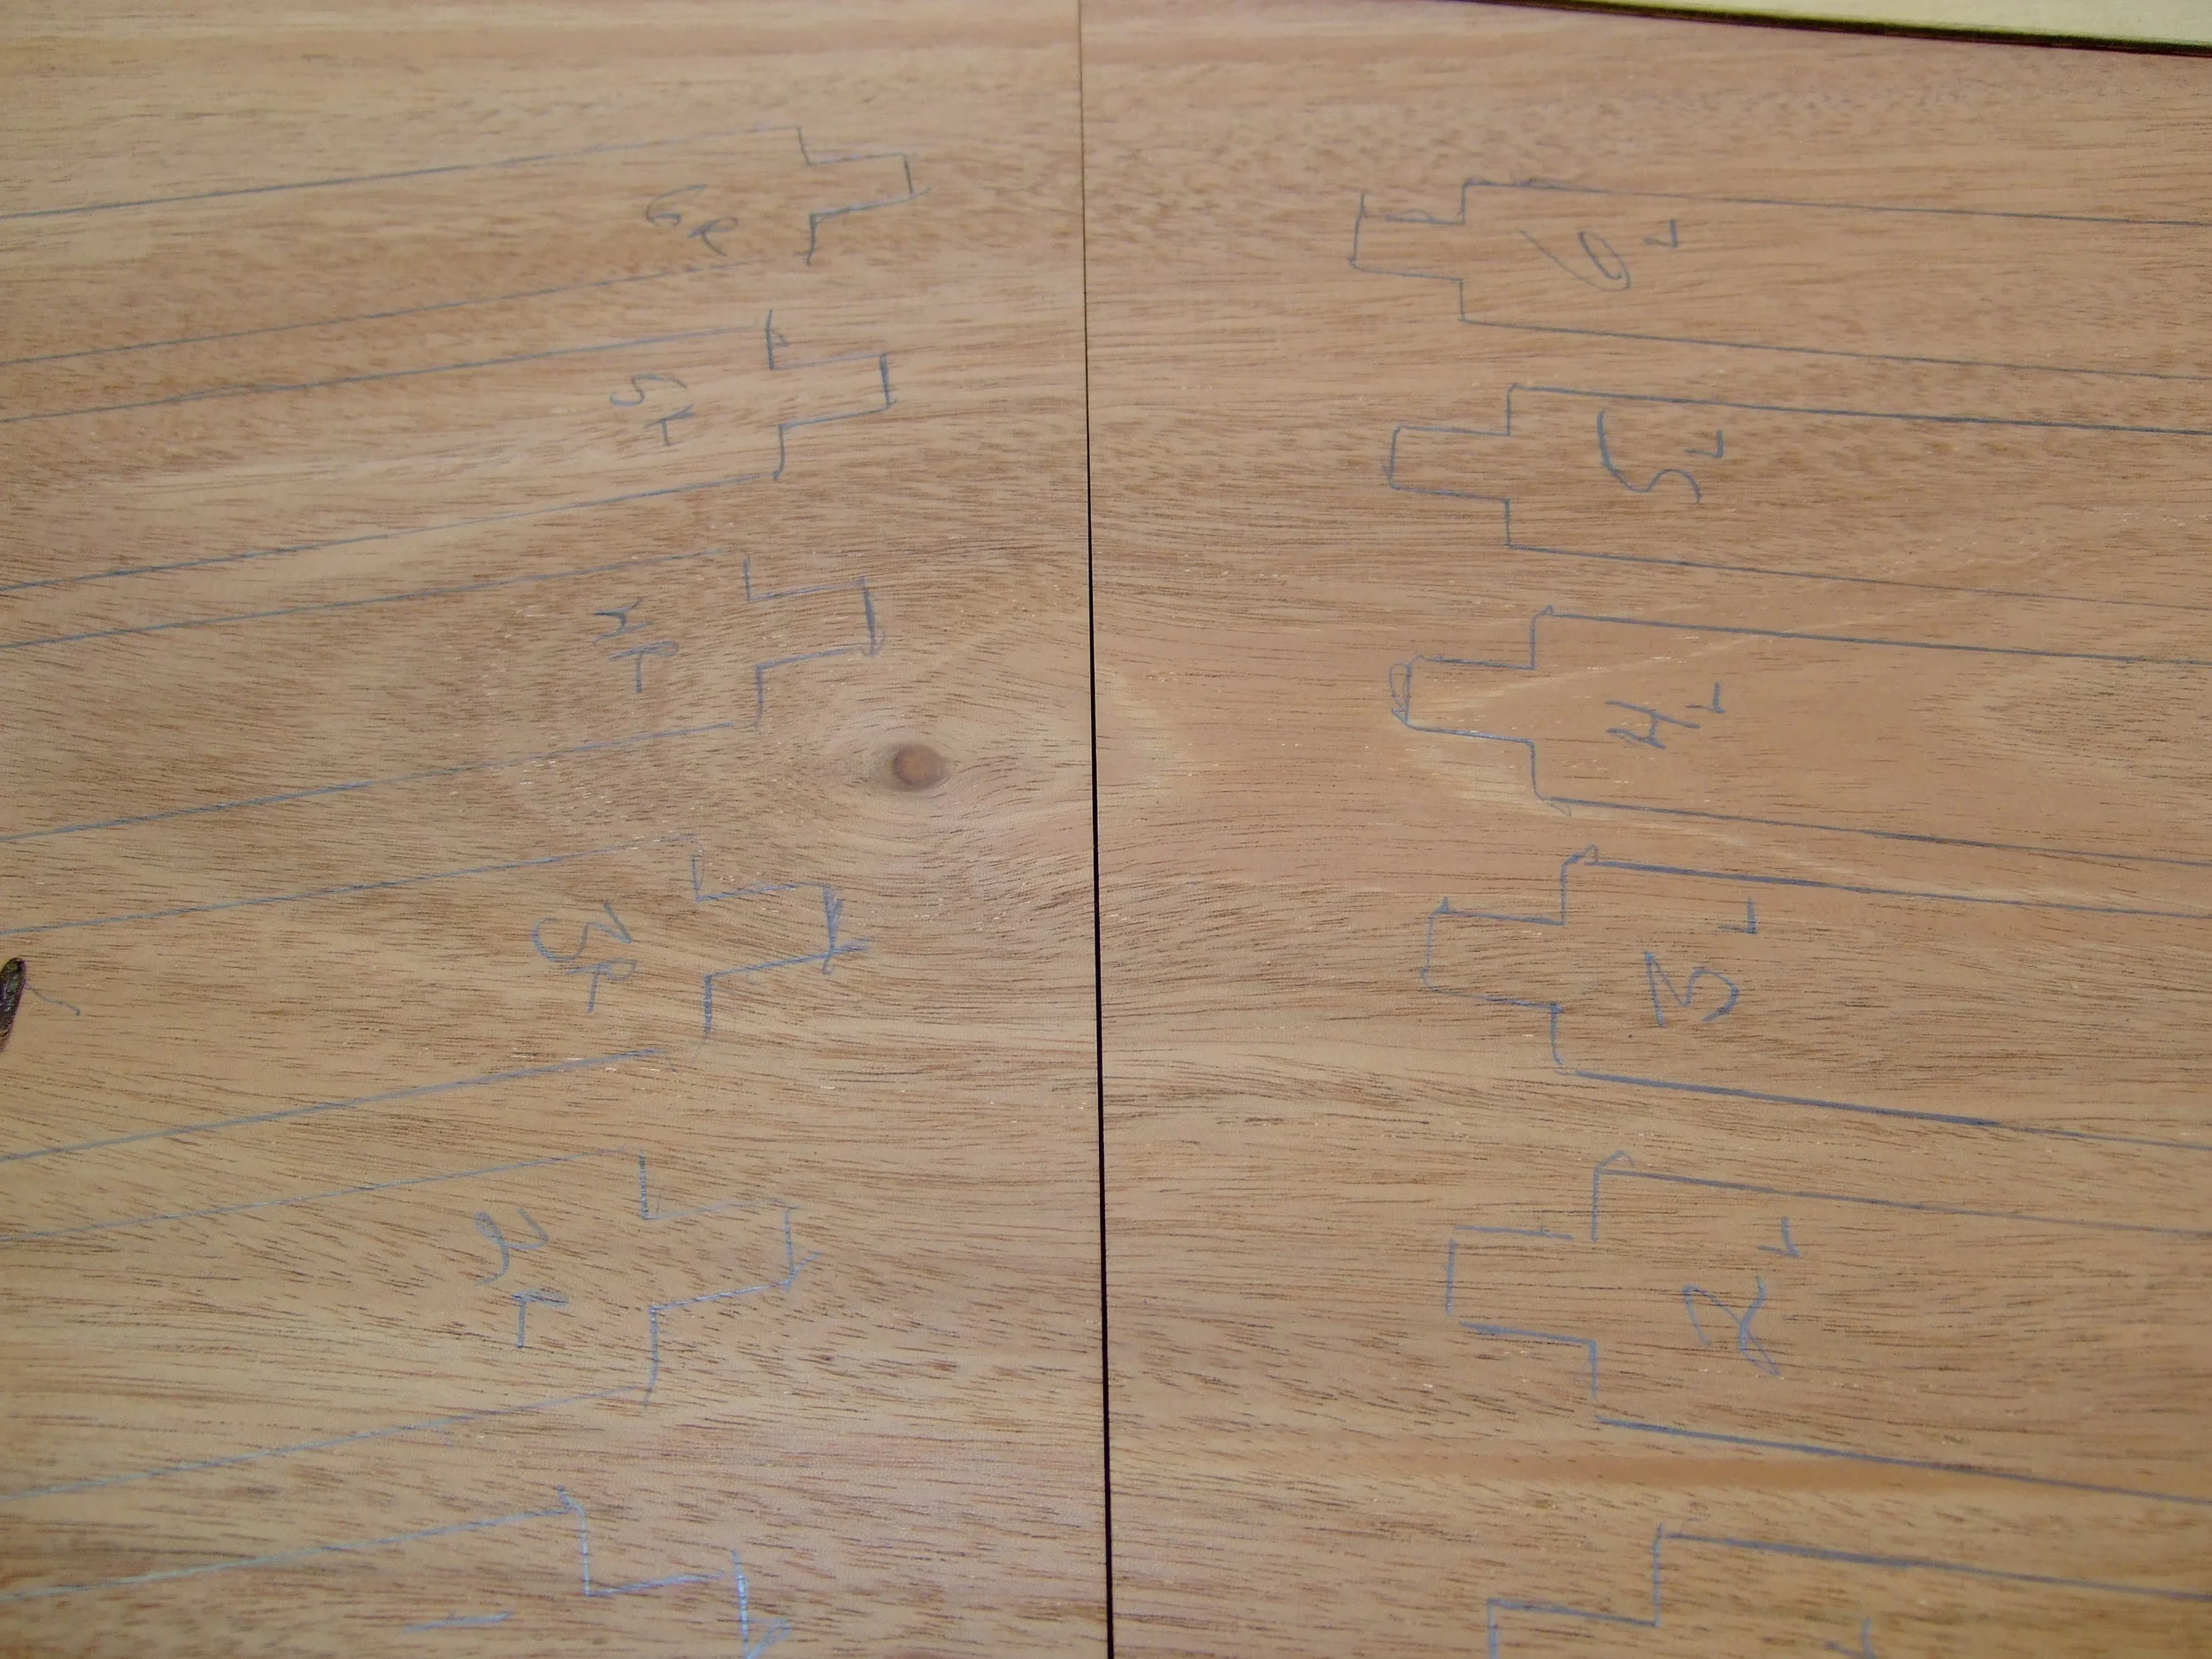
Making pieces of the banding.

Sand shading the pieces.

An assortment of pieces ready to go.

The effect once fitted together.

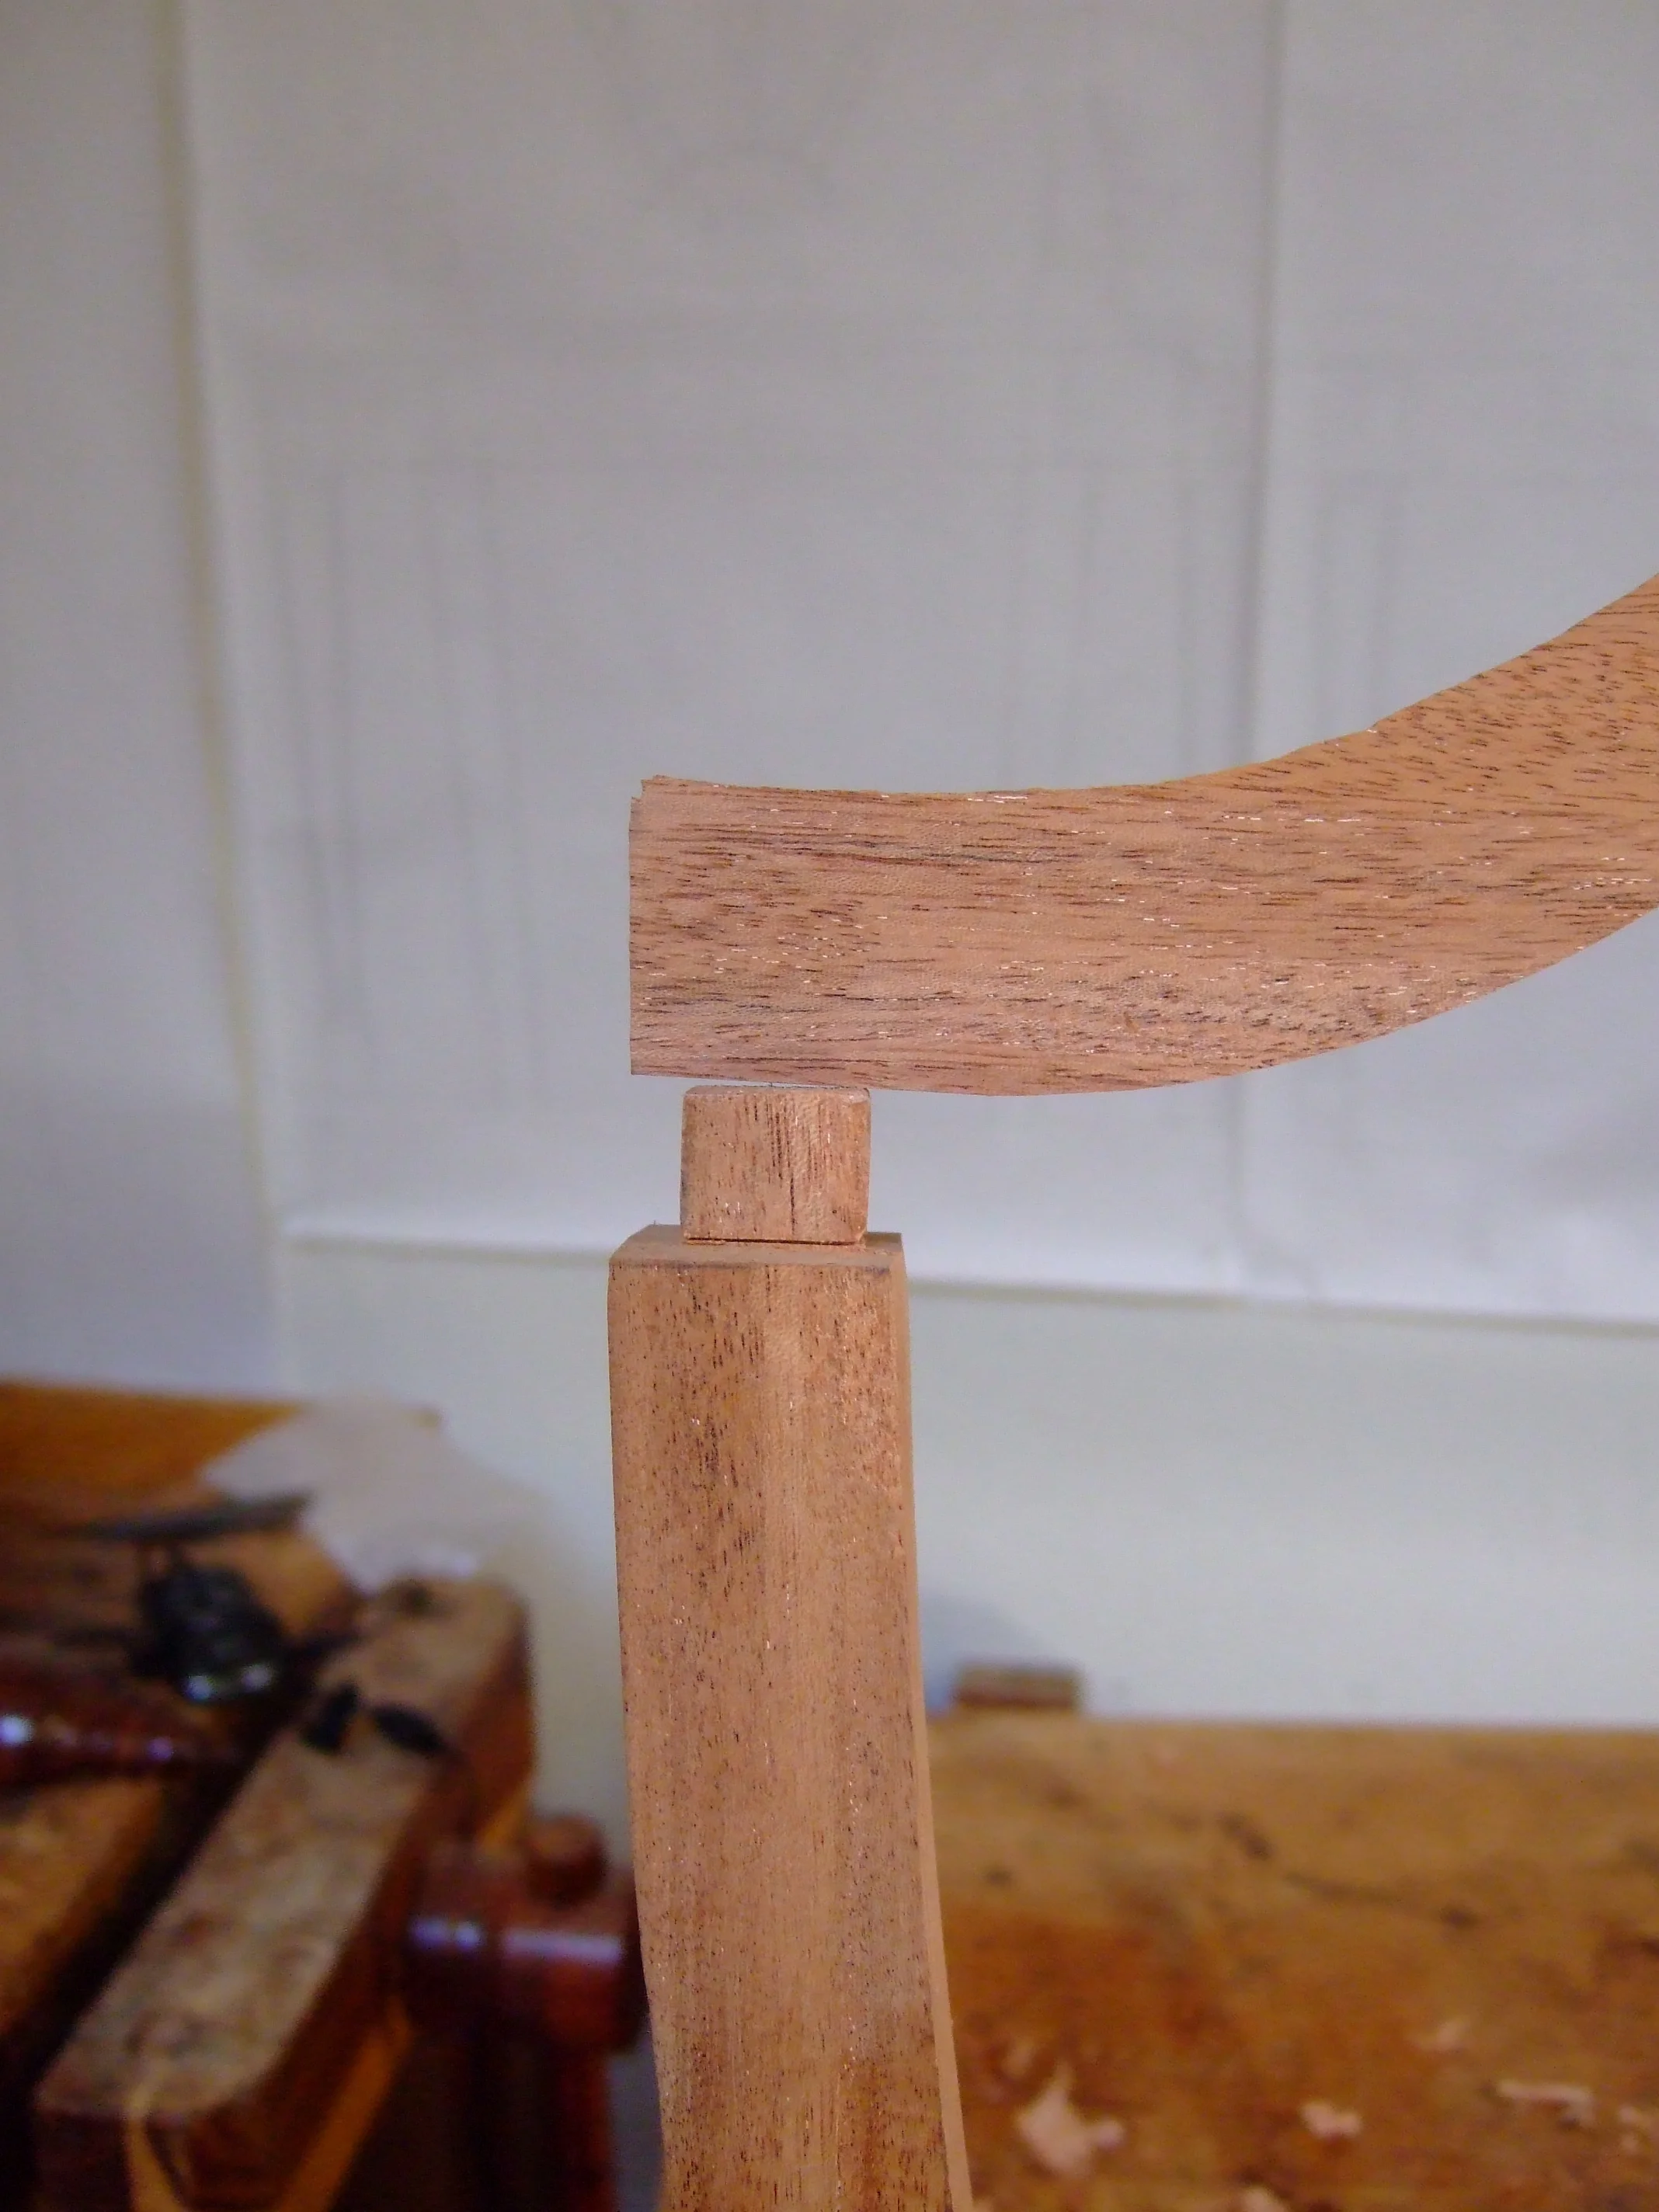
Patching the back of a leg at floor level.

Patching a loss on the arm.

The side chair when it arrived.